Organize Your Spice Cabinet In a Few Simple Steps July 28, 2021
If the thought of organizing your spice drawer sends chills down your spine, we’re about to turn your world upside down.
It should only take a few seconds (not a few minutes!) to locate a specific spice. Sure, organizing a cabinet is all too easy to put off, but the feeling once you check that nagging task off your to-do list? Truly incredible. Getting your spices in order will take under an hour at most, and with minor upkeep, it’ll make your life in the kitchen so much easier and more efficient (and make your food tastier, too).
Fix yourself a spritzer, put on your favorite playlist of podcast, and follow these simple steps to reach spice drawer serenity.
Step 1: Take Stock
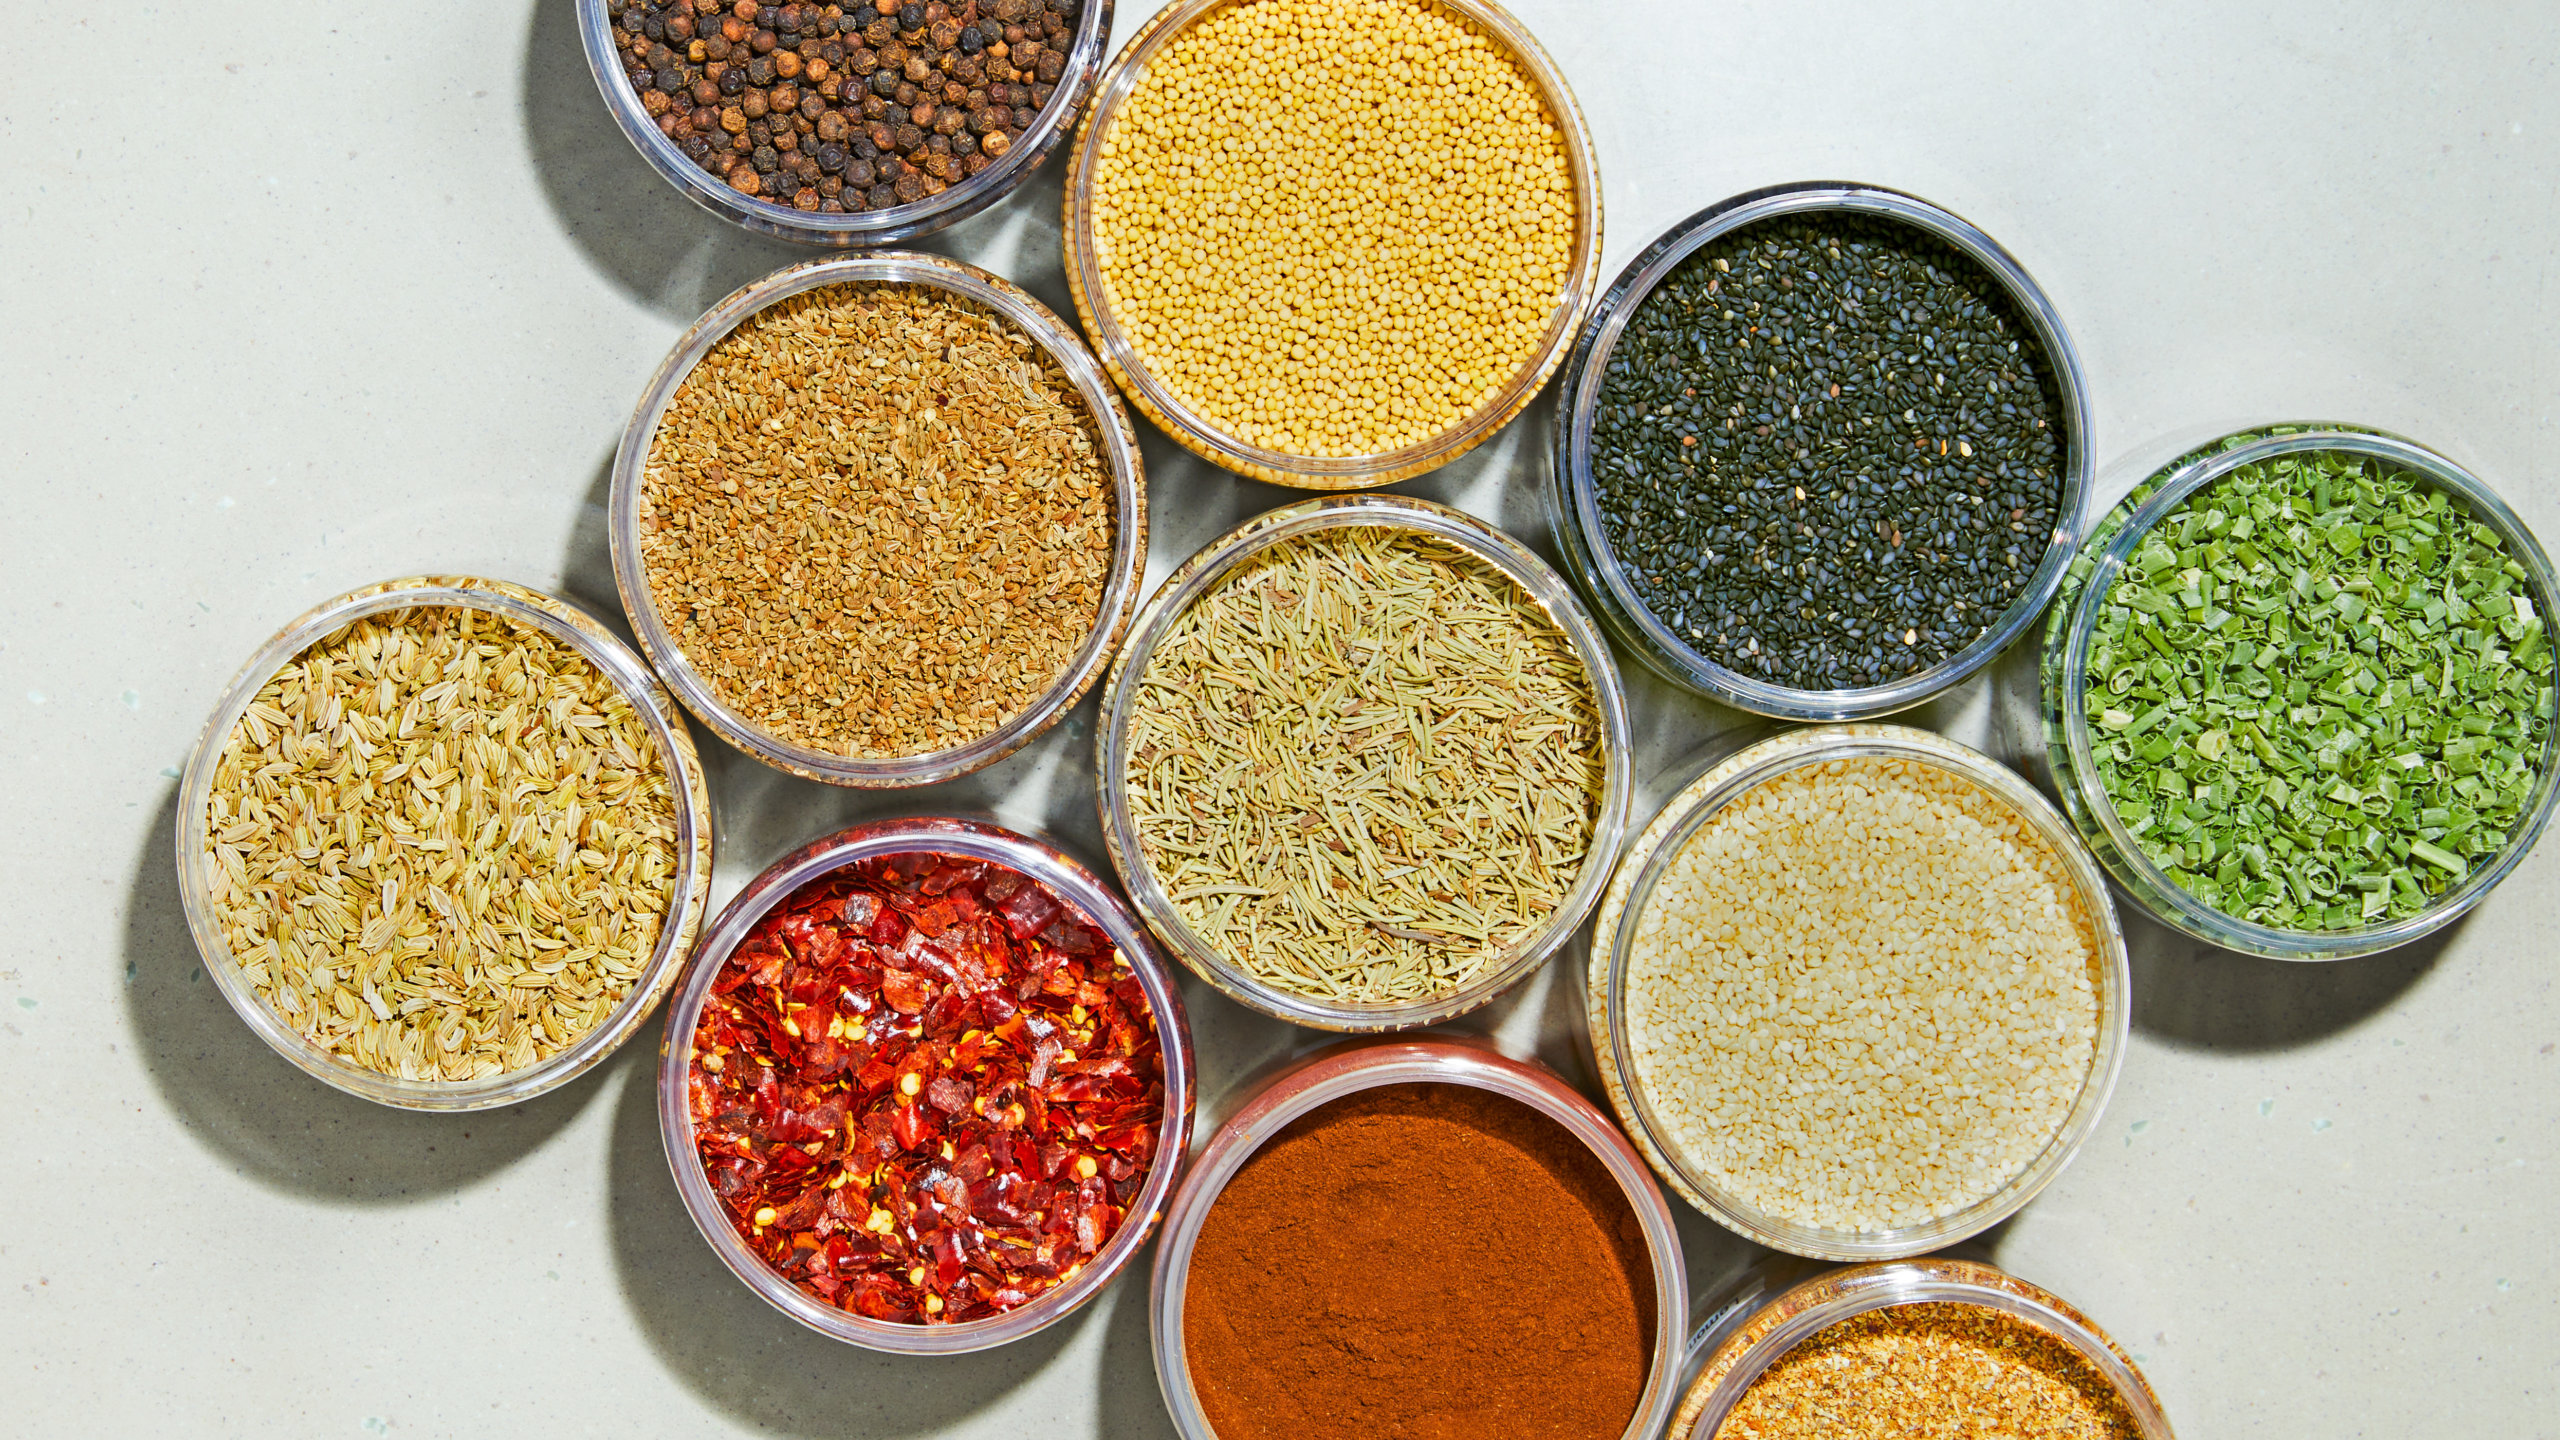
First things first, pull out all your spices and look over your loot. This is so you can play everyone’s favorite game: Toss or Keep! While spices technically don’t expire, they do lose major flavor over time. (Yes, the time has finally come to say goodbye to that decade-old nutmeg jar with the cracked lid.)
Spices can be pricey, and that may be why it feels strangely hard to part ways—we totally get it. If they’re not serving their purpose, though, it’s so not worth it to keep them and clutter up your space (and, more importantly, the flavor of your dishes!).
According to Taste of Home, whole spices last four years, ground spices and dried herbs three years, and spice blends two years. If your spice jar doesn’t have an expiration date, try the sniff test: simply open up each jar and take a whiff. Does it smell vibrant? Great. If it smells dull, bitter, or off in any way, toss it. When in doubt, taste it! Psst, you don’t have to go all Cinnamon Challenge with a giant spoonful—a tiny pinch will do.
Step 2: Label
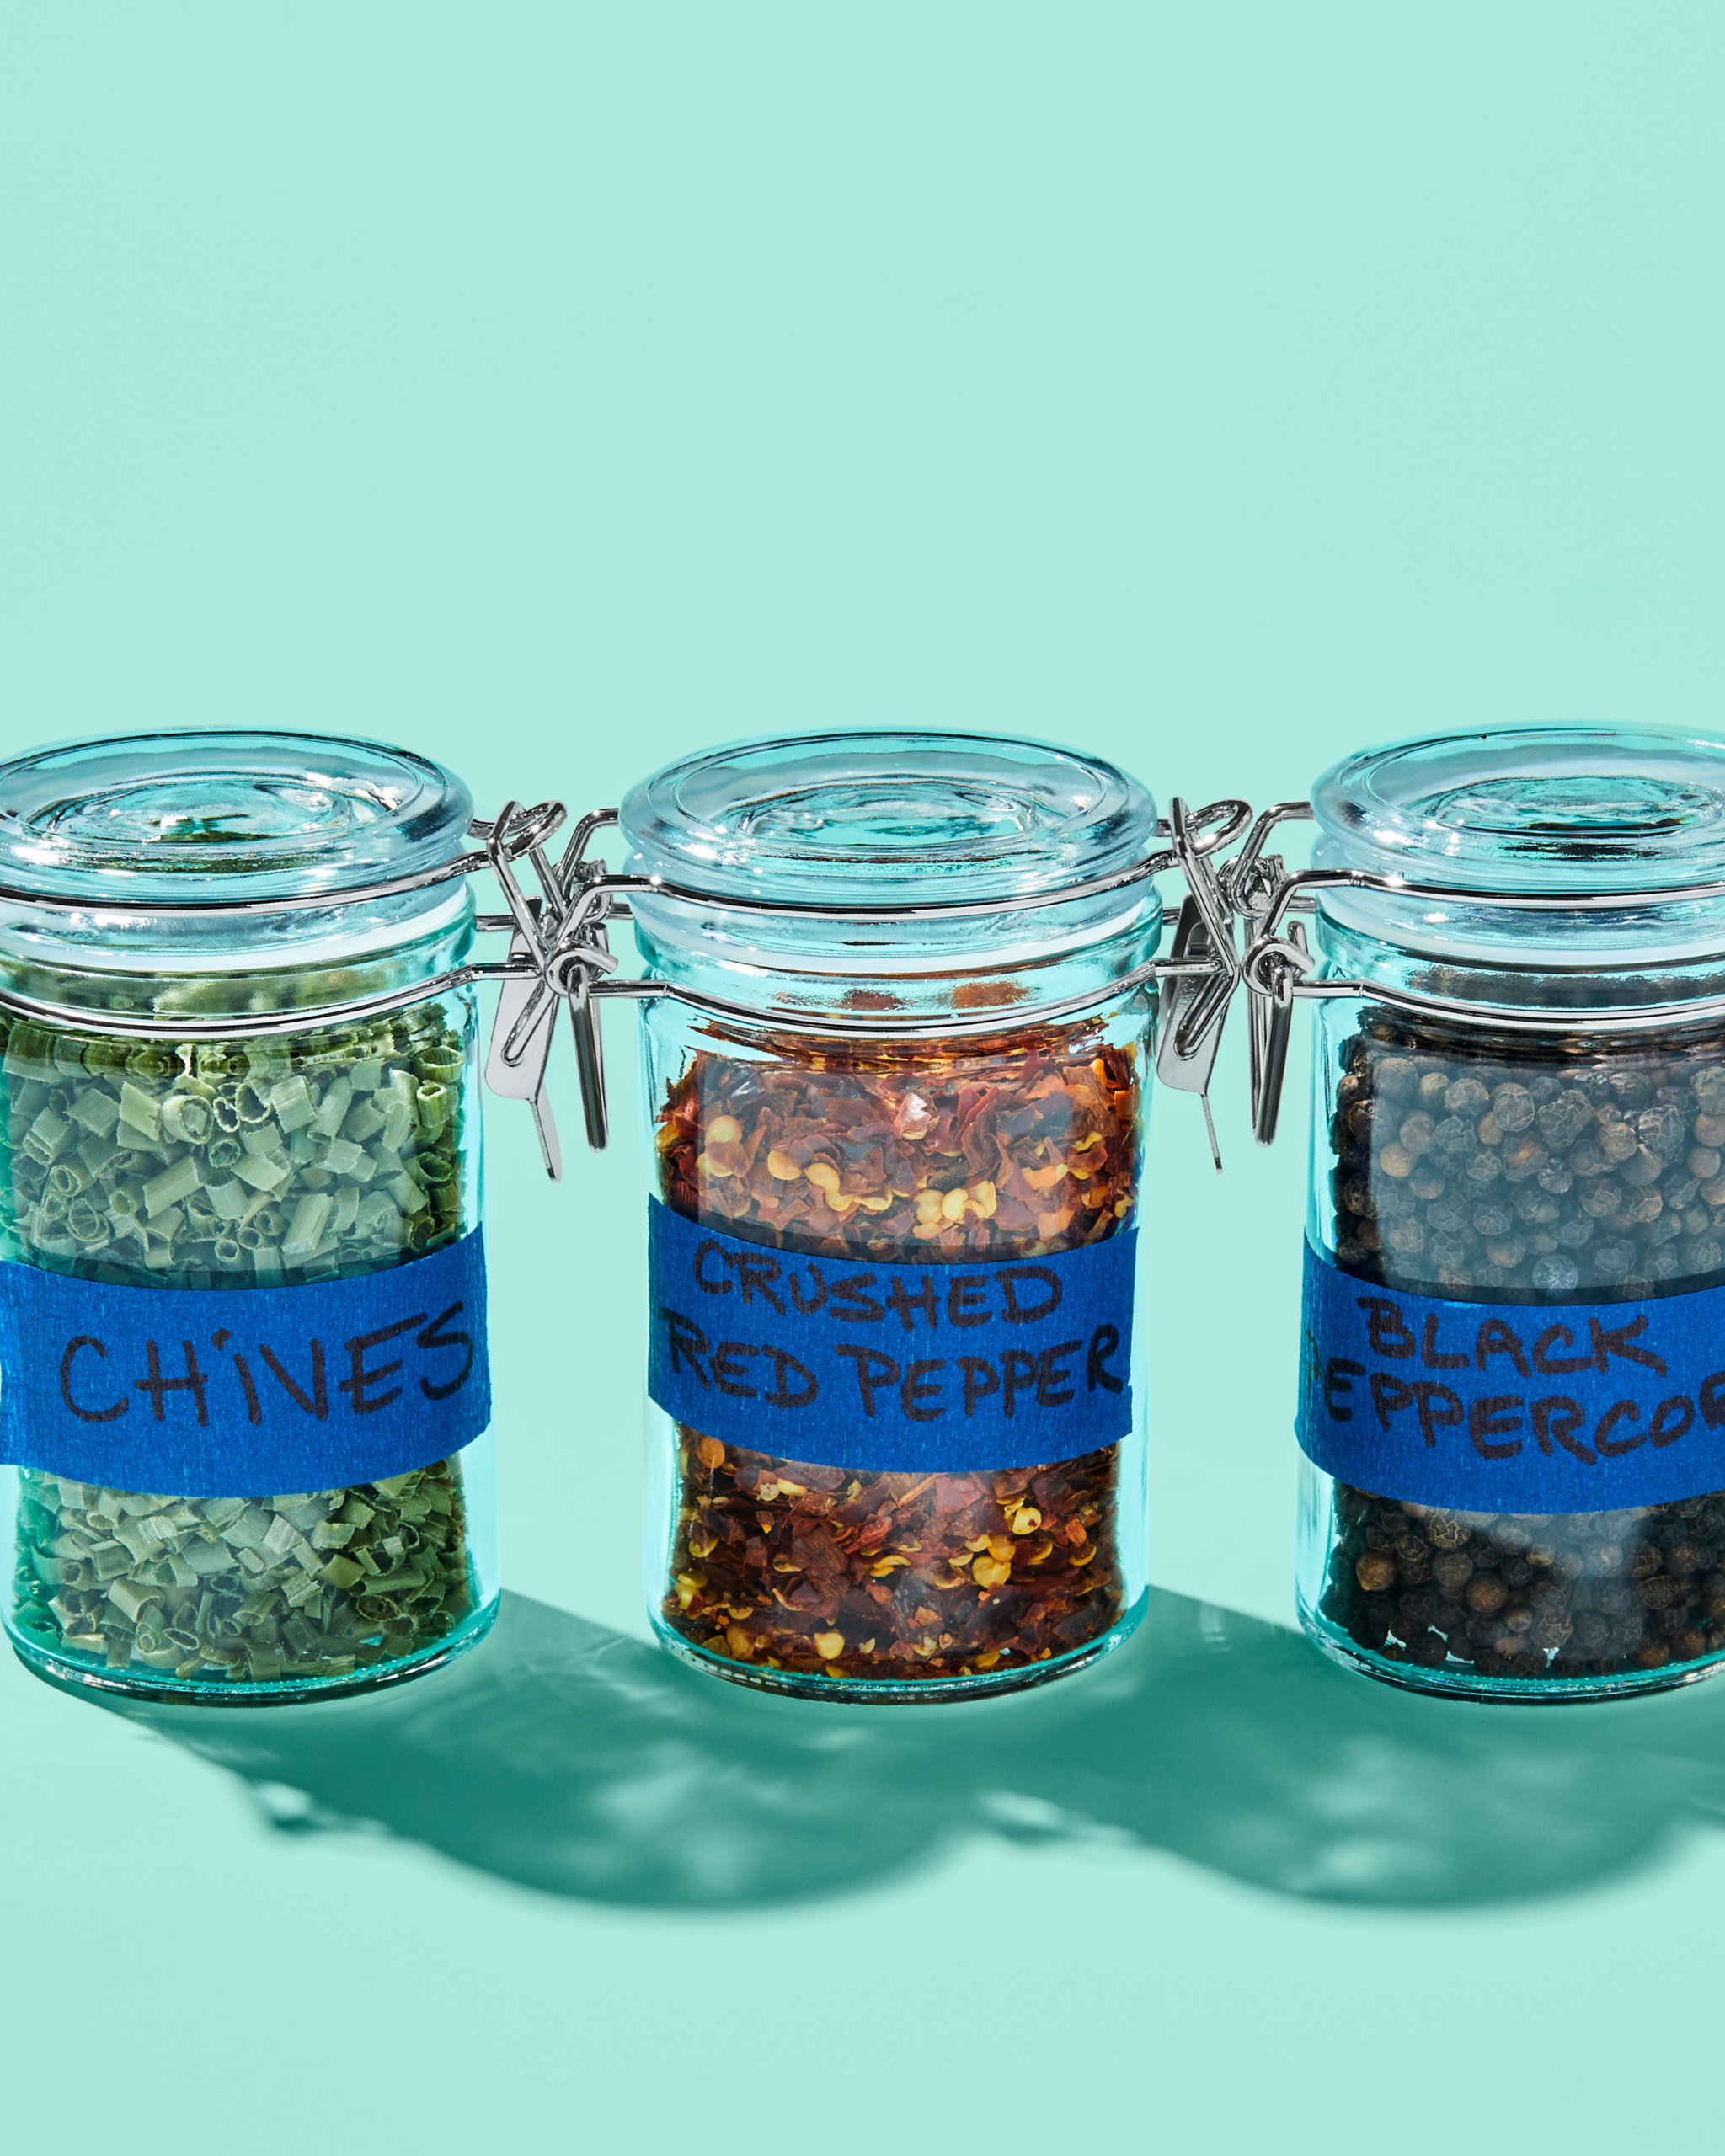
Once you’ve whittled down your spice collection (didn’t that feel good?), it’s time to get labeling. You don’t have to purchase a fancy label maker or a bunch of adorably tiny mason jars (Type A’s: You do you, though!). Painter’s tape and a sharpie works just as well. This step is especially crucial if you can’t see your spices straight-on, i.e. if you’re looking at a bunch of bottle tops. BTW, if all the tiny bottles bother you, try transferring your spices to easier-to-scoop-from, simpler-to-stack containers like half-pint containers.
[If you have a dedicated drawer where each spice can lay neatly on its own, you can feel free to skip this step. For The Others, this bit of effort will save you from the dreaded pull-and-stare. You know the game, we’ve all been there.]
Step 3: Choose A Home
Are your spices scattered throughout your kitchen? Rattling around haphazardly in a deep box? Stacked on top of each other like a jenga tower in a skinny cabinet? If you answered yes to any of these, it’s time to pick a new home for your collection. The aforementioned dedicated spice drawer is great, but if you’re short on storage space, let us offer a few suggestions. If you’re working with a cabinet, try using shelf risers or a small lazy susan (or two!). If your spices are hanging out in the open, try wrangling them with a wall-mounted or fridge-mounted spice rack.
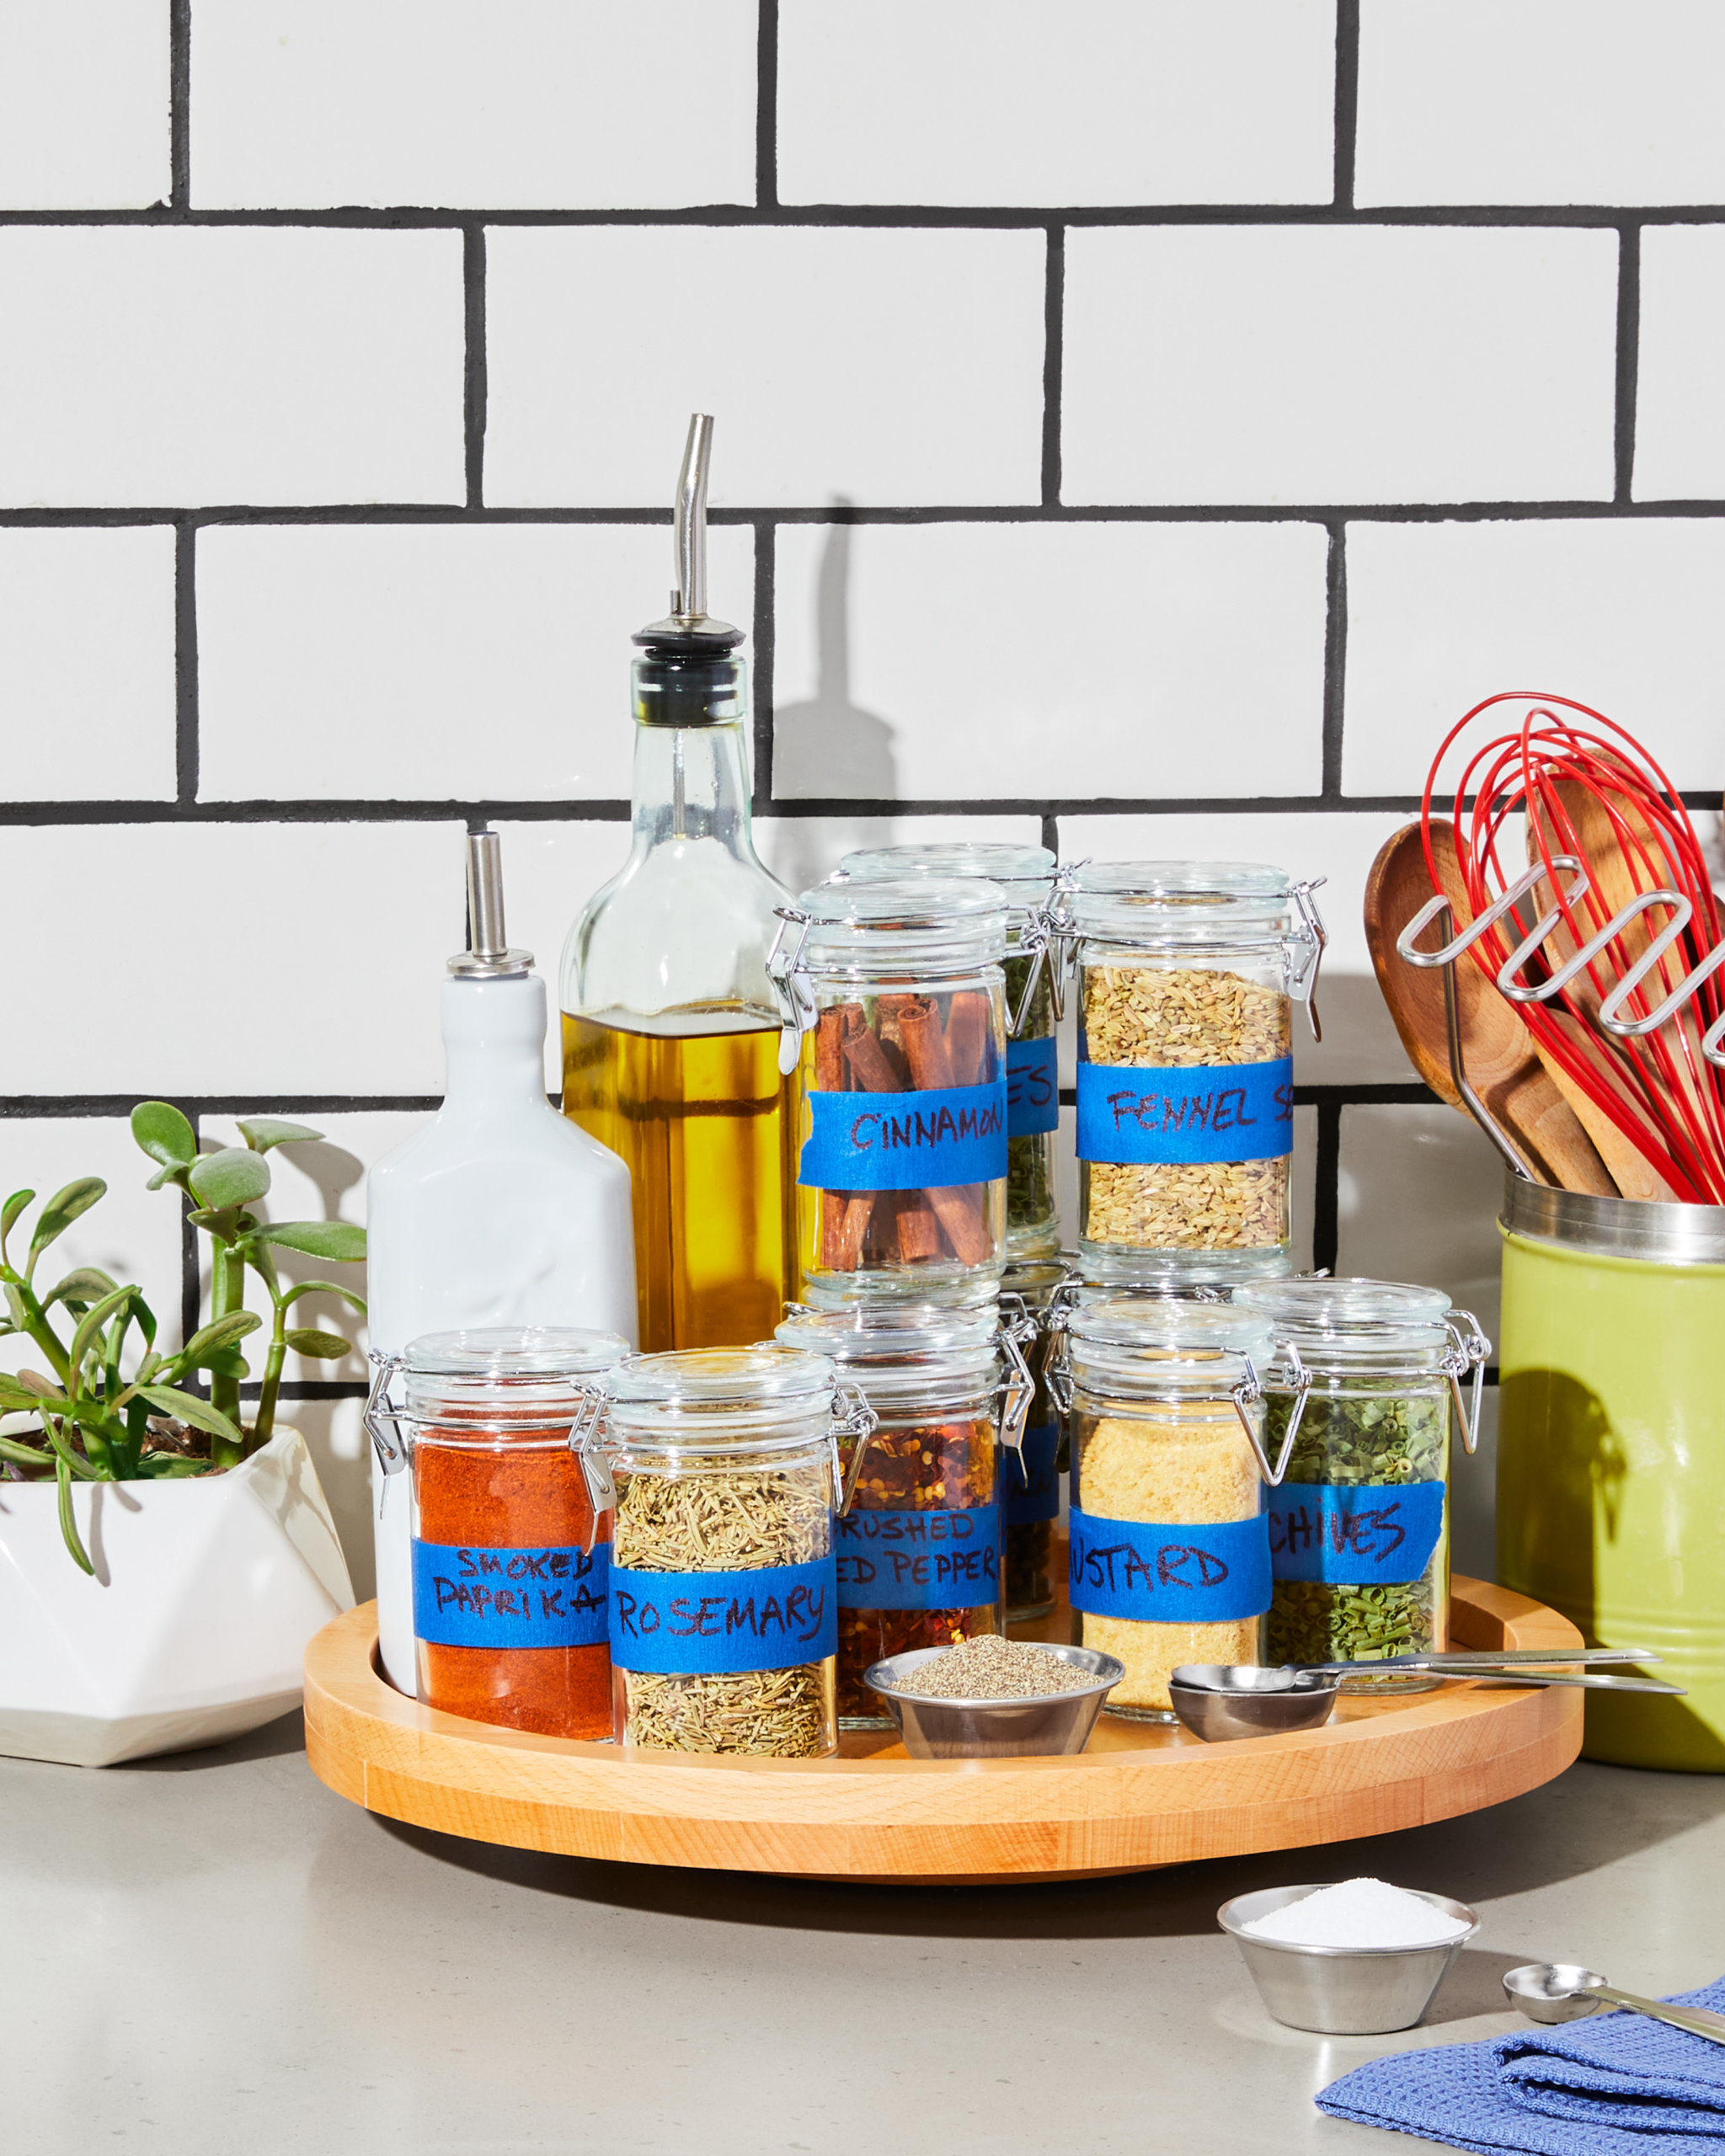
Finally, we highly recommend creating a spice caddy. We first discovered this brilliant idea on Carla Lalli Music’s Instagram. It’s simple: Set up an arsenal of your most-used spices and condiments right next to your stovetop. We’re talking salt, pep, cooking oil, olive oil—and the rest is up to you! A lazy susan is great for the job, but really any rotating tray will do. Keeping these MVPs within arms length will have you feeling (and cooking!) like a professional chef.
Step 4: Organize
This last part should be totally personalized to you. Organizing will only “work” if it makes sense to your brain, so choose what feels best for you. Alphabetize, sort from most-to-least-used, or categorize (i.e. group into baking spices, savory spices, chiles, herbs). If you really want to go above and beyond, you could even alphabetize within the categories. Don’t lose your mind though—the end goal here is to make your life easier.
Step 5: Level-Up Your Collection
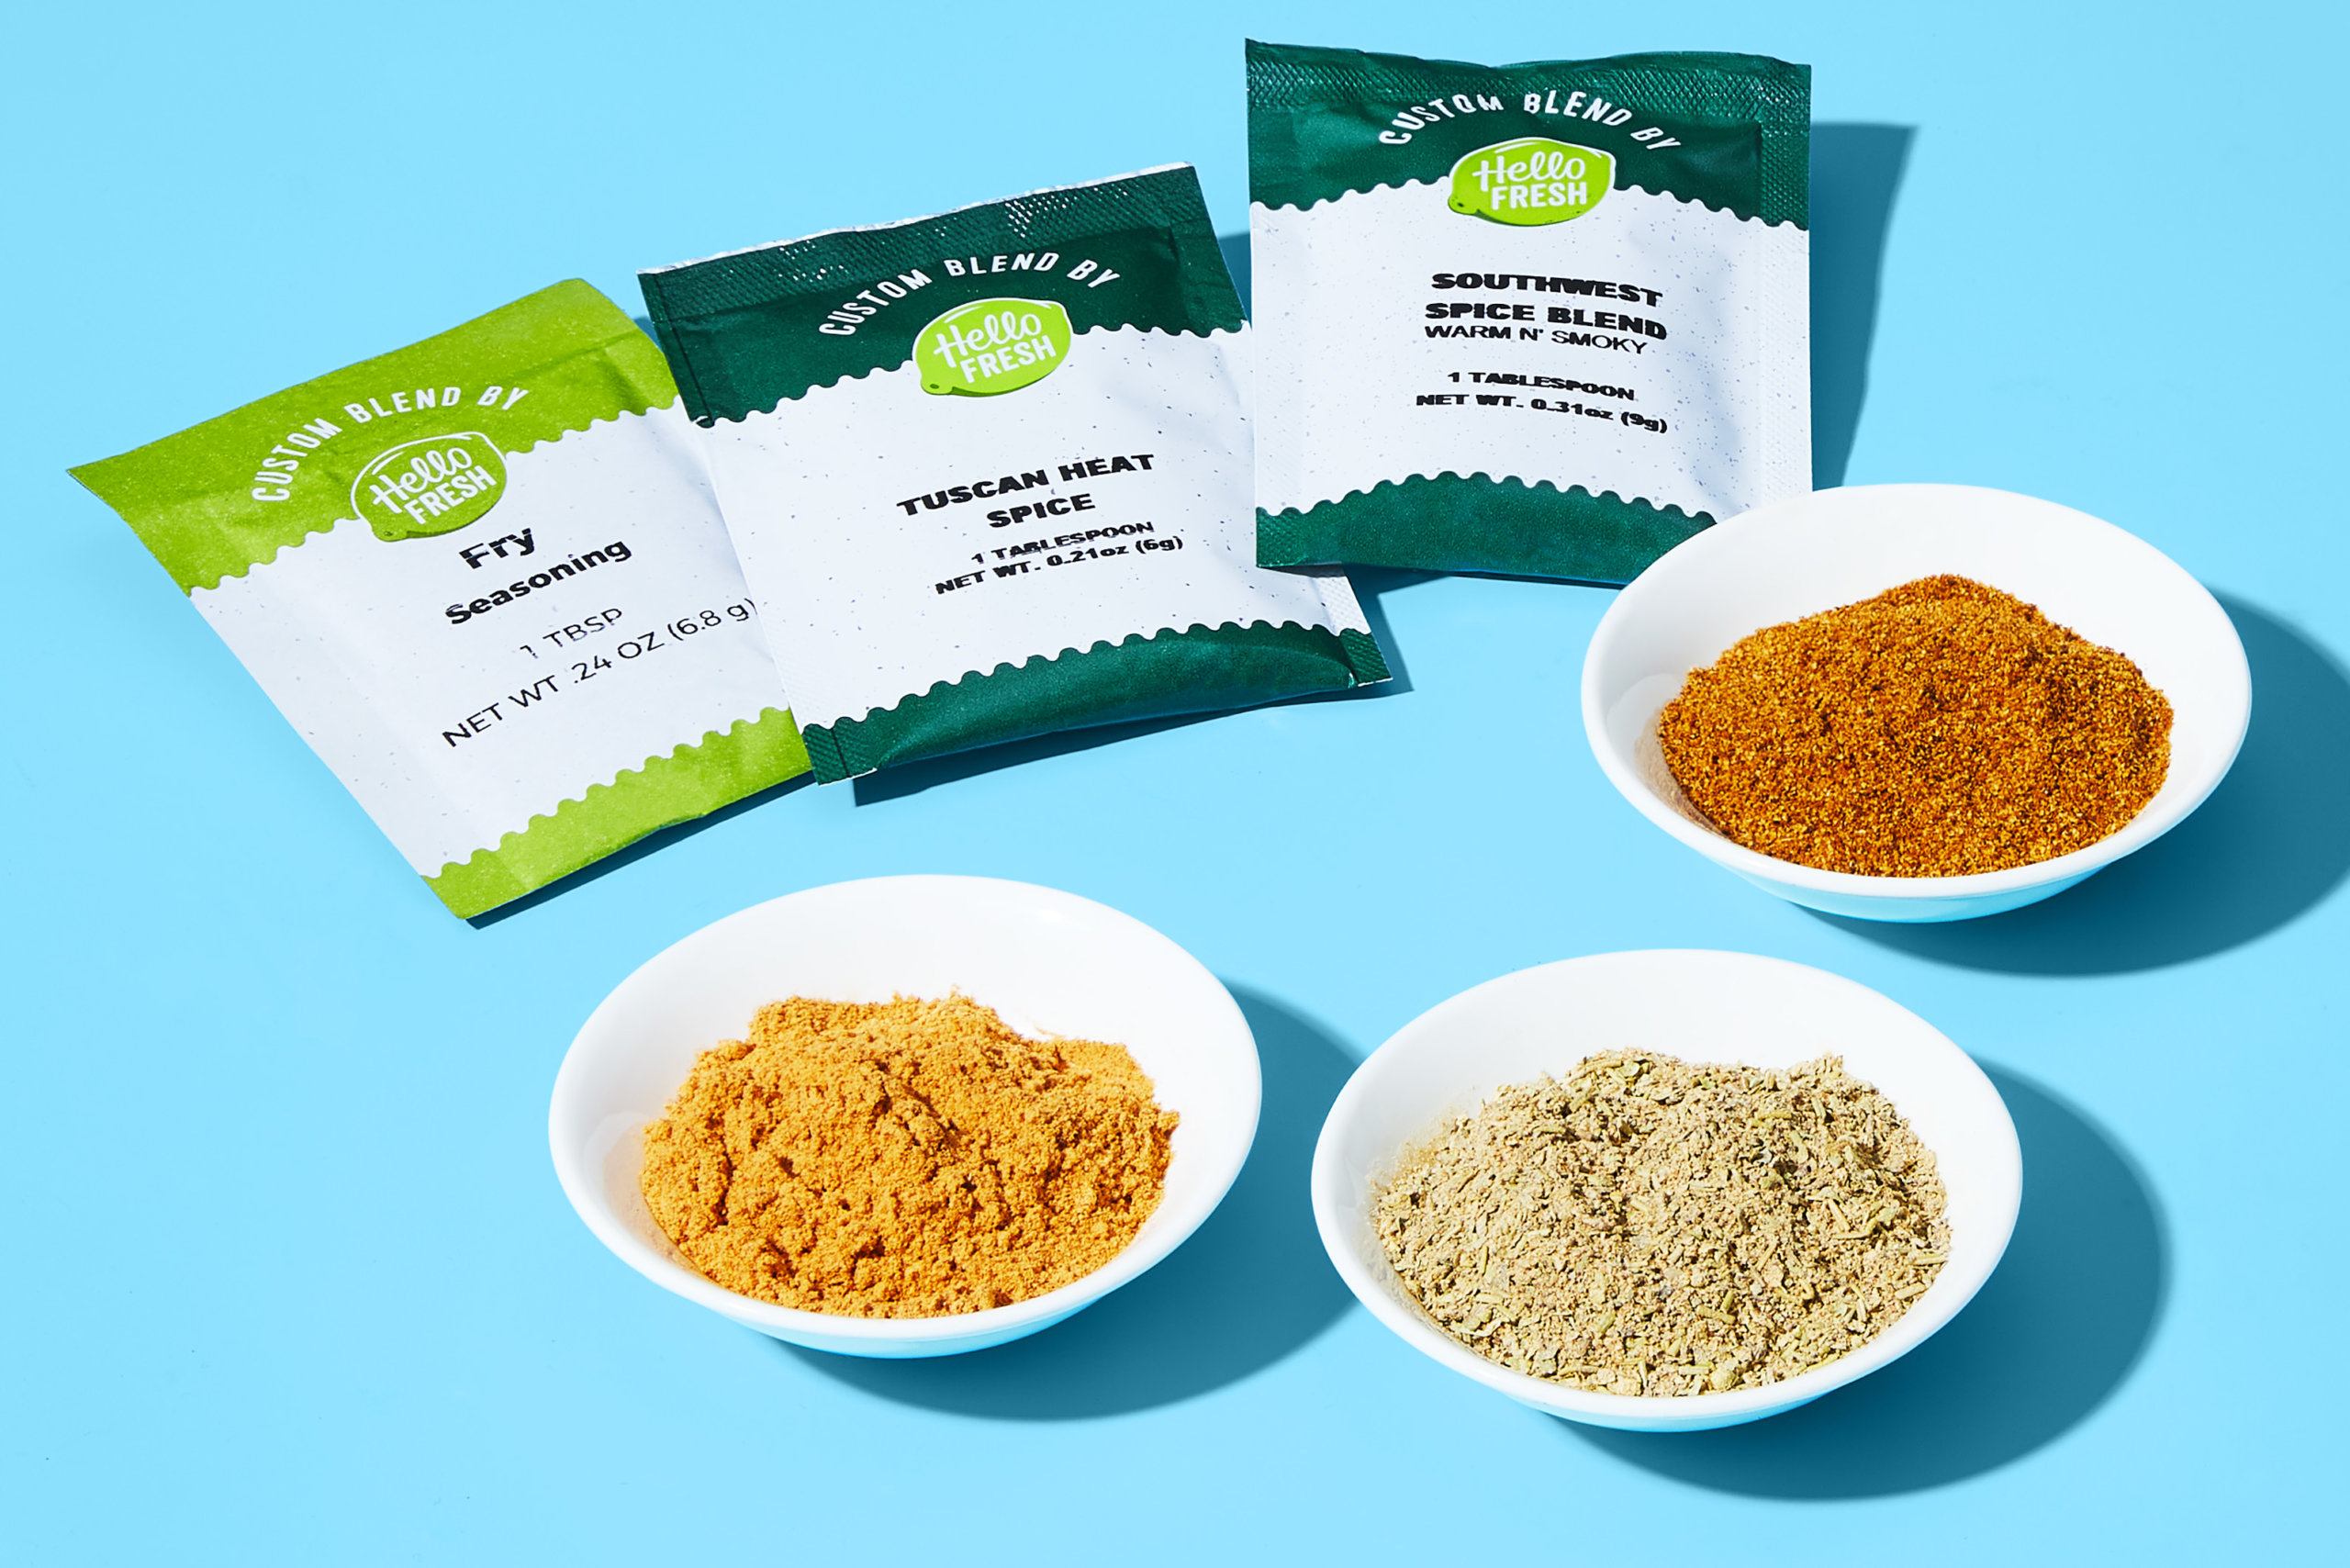
Last but not least, it’s time to give your spice collection some (delicious) oomph. We’re offering HelloFresh’s three most popular, chef-created spice blends—Southwest Spice, Tuscan Heat Spice, and Fry Seasoning—in the Market section of your weekly menu.
If they’re unavailable at the moment, not to worry! Below, we’ll let you in on the secret mixes so you can whip up these blends yourself, plus tell you a few of our favorite ways to use them.
Southwest Spice
- Garlic Powder
- Cumin
- Chili Powder
We love: Mixing with coarse salt for a michelada rim, adding a big pinch to ranch dressing, or brushing onto big slices of pineapple pre-grilling.
Tuscan Heat Spice
- Dried Basil, Rosemary, and Oregano
- Garlic Powder
- Cayenne
- Ground Fennel
We love: Stirring into softened butter and dolloping on grilled fish, sprinkling onto homemade croutons, or mixing with oil and coating assorted nuts before roasting.
Fry Seasoning
- Paprika
- Garlic Powder
- Onion Powder
We love: Stirring into a bloody mary, pairing with nutritional yeast and tossing with freshly popped popcorn, or mixing with oil and brushing onto homemade pita chips.
P.S. Did you know you can dry your very own herbs?! Check out how to do it here.

Related posts


HelloFresh
Get Free Breakfast for Life + 10 Free Meals*One per box with active subscription. Free meals applied as discount on first box, new subscribers only, varies by plan.