A Guide For How To Cook Chicken Like a Pro April 7, 2018
Everything you’ve ever wanted to know about the ins and outs of cooking chicken, straight from the HelloFresh test kitchen…
Chicken is an extremely versatile and popular type of protein, and Americans consume about 92 pounds of it a year. But despite its popularity, people still struggle with basic cooking techniques. Whether you prefer boneless skinless breasts, bone-in skin-on parts, or even the whole bird, the challenge is the same. How do you cook it evenly, lock in flavor, and keep it juicy and moist? And if you’re a skin lover — how do you get the skin perfectly crisp?
No two parts of the bird are the same, and I’m sure you’ve found yourself overwhelmed in the meat aisle at your grocery store wondering which part is best. But don’t panic! We’re breaking it down and dishing out all the tips and tricks to help you cook chicken like a pro.
Whole Chicken
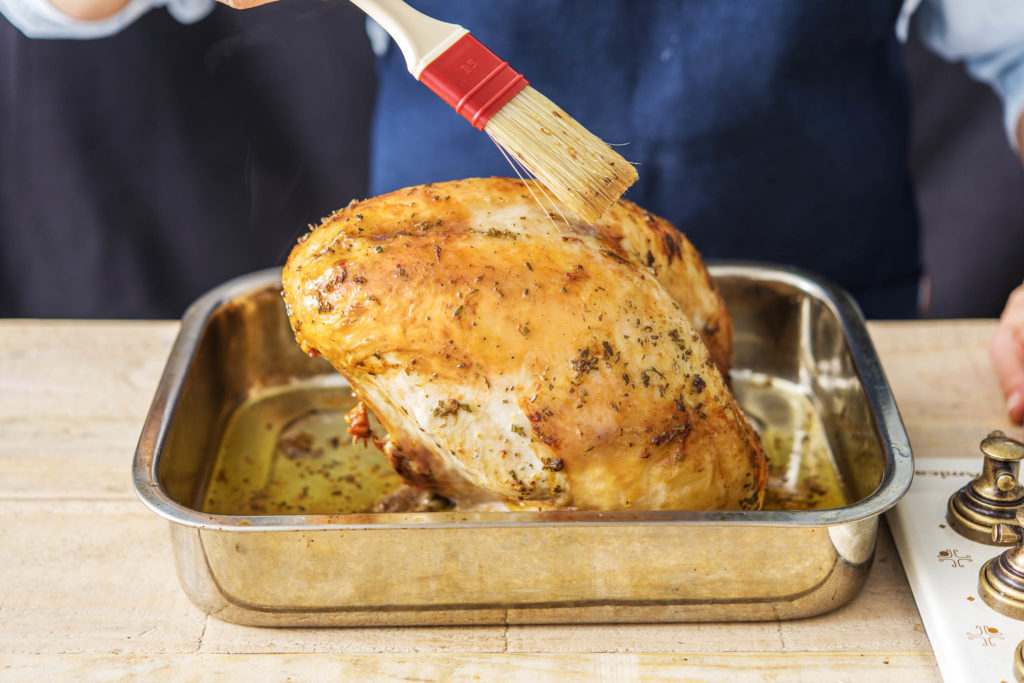
Few dishes are as quintessentially comforting as a whole roasted chicken. The aroma alone screams Sunday supper! And while you only need a few simple ingredients like salt, pepper, and perhaps some fresh garlic and herbs, the trick to a perfectly roasted chicken is all in the technique. Additionally, buying and roasting a whole chicken is really affordable, and leftovers make a perfect second meal. Of course you can default to a rotisserie chicken, but mastering the art of roasting a whole chicken is a lot easier than you may think.
Tip #1: Dry = Crispy
Start with a 4-5 pound broiling or frying chicken. Dry the chicken well (inside and out) with paper towels. For best results, open it from the package in the morning or even the night before and leave it on a rack in a roasting pan uncovered in the fridge.
Tip #2: Salt is essential
Season generously all over (inside and out) with salt and pepper. A good rule of thumb is about 1 Tablespoon salt for an average 4-5 pound bird, and I prefer a Kosher-style salt, like Diamond. Plus the salt acts as a brine and will keep the chicken very moist.
Tip #3: Season beyond salt
If you are seasoning it with more than salt and pepper, combine your spice mixture (I love the simplicity of freshly minced garlic and a mix of herbs like rosemary, sage, and thyme) in a bowl, then rub all over. Again, don’t forget about the inside of the bird! Feel free to season in advance to boost flavor.
Tip#4: Don’t forget the cavity
To add some extra moisture and flavor, cut a lemon, onion, or even an apple in chunks and place in the cavity along with a sprig or two of herbs/bay leaves. As the chicken roasts, these aromatics will release moisture and flavor — just remember to remove before carving.
Tip #5: Truss and tuck
Truss (tie) the legs and tuck the wings. Not only does this make for a prettier presentation, but it also helps keep the breasts from drying out while cooking.
Tip #6: To baste or not to baste?
There are some people who love to dot their chicken with butter or brush it with oil before cooking, and then baste while it’s roasting. However, if you like the skin crispy, I’d advise against this since brushing and basting tends to reduce the crispiness factor. Also, every time you open the oven, the temperature drops, so it’s best to keep the chicken at an even temperature and let the oven do the work.
Tip #6: Slow and steady
I’m a fan of 350ºF all the way unless you’re in a hurry. On average, you’ll want to cook your chicken about 15 -20 minutes per pound to keep the white meat moist and ensure the dark meat is cooked through.
Tip #7: Roasting pan, sheet pan, and more
A traditional roasting pan that you line with a rack is sufficient since it will keep the bird elevated and allow the bottom to crisp. However, a shallow sheet pan will also allow the sides to crisp up more. I’m also a fan of roasting the chicken in a large cast iron skillet, which retains heat very well.
Tip #8: Check for doneness
Don’t poke your chicken too often while it’s cooking. Instead, set your timer for the estimated time, then insert a thermometer into the thickest part of the thigh (avoiding the bone). If it registers 165ºF, it’s good to go. If you don’t have a thermometer, insert a sharp knife into the thickest part of the thigh (also avoiding the bone), and if the juices run clear, the chicken is ready.
Tip #9: Be patient and let it rest
Don’t rush to carve that chicken right after you’ve taken it out of the oven. Not only is it too hot to handle, but letting it rest for about 15 minutes will allow the juices time to redistribute.
Chicken Breasts
Boneless, skinless chicken breasts are perhaps one of the hardest working proteins around. They’re high in protein, low in fat, and cook relatively quickly. But perhaps the best part about this cut of chicken is its versatility, since chicken breasts can be marinated, grilled, pan seared, sautéed, roasted, sliced and diced for simple stir-fries, threaded onto kabobs, or even shallow fried as cutlets when stuffed or pounded.
Despite their popularity, chicken breasts can be challenging to cook — especially when there is a significant difference between the thick and thin part. And unfortunately, it’s easy for this cut to become tough and rubbery when overcooked. But with these basic tips, you’ll be well on your way to moist and delicious chicken breasts in no time.
Tip #1: Smaller is best
Look for smaller size breasts, if possible, 6-7 oz is best. If you end up with ones that are extra large (between 8-12 oz), cut them in half horizontally for more even cooking, pound them out for cutlets, or slice and dice ‘em into small chunks for stir-fries.
Tip #2: Pat dry
Always make sure you pat the chicken with paper towels and season well with salt and pepper. If you’ve marinated chicken, make sure the marinade is shaken off and chicken is dry. Most marinades have salt, so you can skip salting if you’re starting with marinated chicken breast.
Tip #3: Don’t overcrowd
Start with a wide frying/sauté pan that helps keep splattering to a minimum (nonstick is okay but not essential). If you crowd the pan, the breasts won’t brown as nicely and leave enough room for turning. Also consider if you’re going to be adding other ingredients like veggies or pasta.
Tip #3: Choose cooking fats wisely
Heat about two teaspoons of oil (regular olive oil is fine, but extra-virgin is not the best choice here due to its low smoke point). I also like adding a knob (tablespoon) of butter at the end, which adds a nice flavor and color. In most cases, medium-high heat is best and will create a good sear. However, if it’s getting dark too quickly, you’ll want to adjust your heat slightly.
Tip #4: Leave it alone
If you want a nice sear, try not to move the chicken for about 5-7 minutes once in the pan. If the chicken is sticking, it’s probably not ready and won’t be golden brown. Also try to avoid over-flipping. Turn it once and don’t touch again for an additional 5-7 minutes. Again, the goal is golden brown color on each side.
Tip #5: Be patient and let it rest
Let the chicken rest for a few minutes before slicing or serving to allow for carry-over cooking and time for juices to redistribute. You’ll want to look for an internal temperature of 165°F, but if you don’t have a thermometer, pay attention to the following: Has the chicken shrunk while cooking? Is it somewhat firm to the touch? If you don’t have a thermometer, make a small cut into the thickest part and check that the juices run clear and flesh is no longer pink.
Recipes:
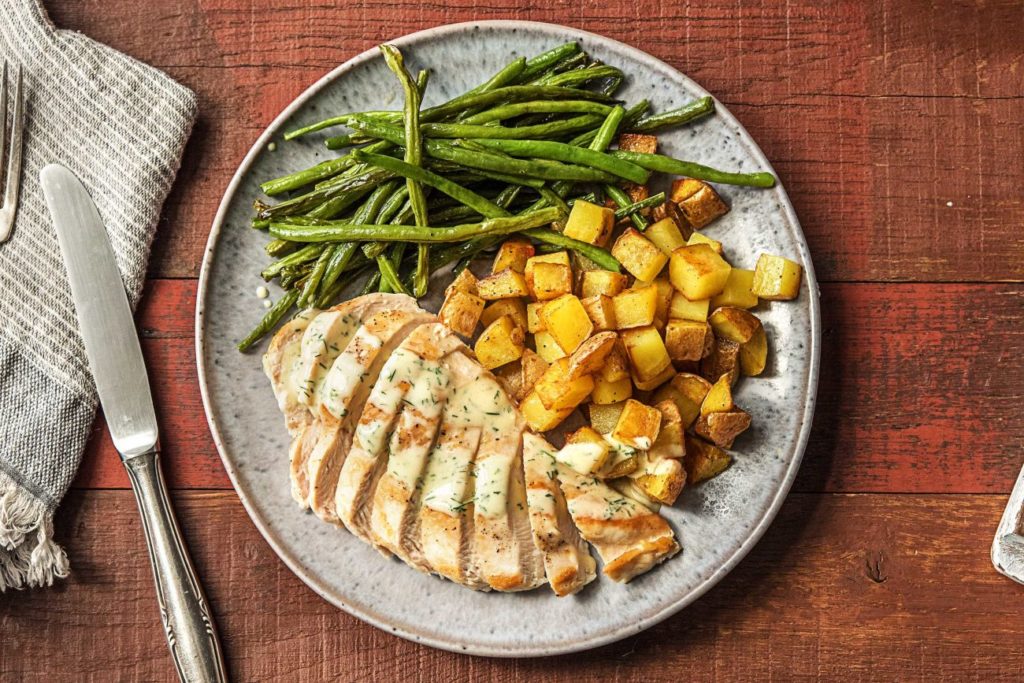
- Creamy Dill Chicken with Roasted Potatoes and Green Beans
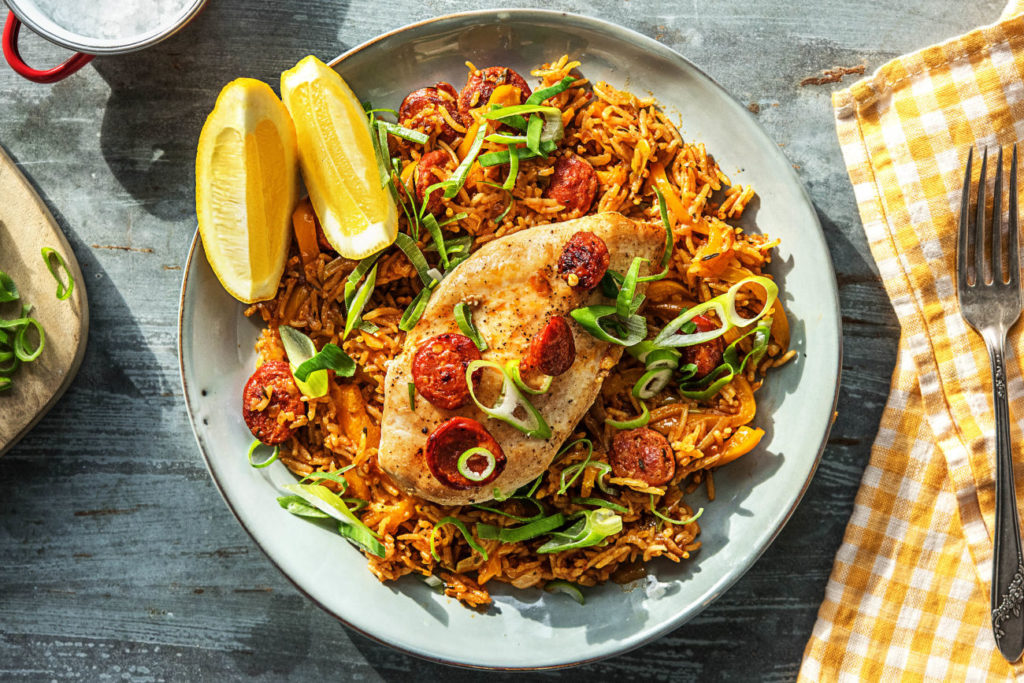
- Spanish One-Pan Chicken with Chorizo and Bell Pepper
- Balsamic Fig Chicken with Sweet Potatoes and Mixed Greens
- Creamy Chicken Pasta Casserole with Broccoli, Ranch Seasoning, and Three Cheeses
Bone-In Chicken Parts/Boneless Chicken Thighs
Chicken legs, thighs, and wings are also known as dark meat. These parts are naturally fattier than chicken breast, but also get fat and flavor from the skin. Some people prefer the dark meat because it tends to be more flavorful, but it will take a little longer to cook.
Bone-in, skin-on pieces (even breasts) are best for longer braises, deep-frying, and roasting. They are great marinated and grilled, and certainly less expensive than boneless.
Boneless chicken thighs have a lot of flavor and are just as versatile as the breast. They’re perfect for dicing in stir-fries or quick tacos, and take to marinades very well. Additionally, they can be pan seared and then transferred to the oven to finish cooking, roasted the entire way through, grilled, or lightly breaded and shallow fried. They work well in dishes like chicken chili’s, pot pies, and braises. Just like all poultry, you’ll want to get the internal temp to 165ºF.
Tip #1: Pat dry
Just like the whole chicken and breast, you want to pat the dark meat pieces dry with paper towel. This helps to avoid splatter and increase crisp.
Tip #2: Render the fat
Melting and clarifying animal fat (aka rendering) helps to tenderize the connective tissues. Roasting at high heat or slow braising are the best techniques for this. It’s best to sear in a hot pan first to render excess fat and add flavor. Next, transfer to an oven or add sauce/wine/veggies to the pan and let simmer while chicken cooks.
Recipes:
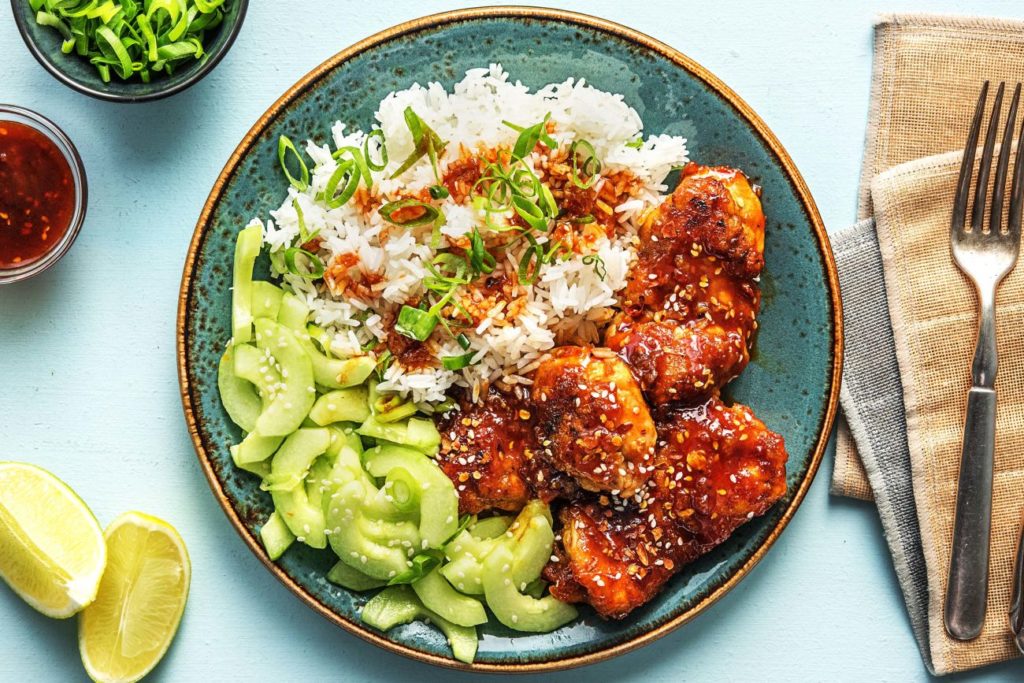
- Korean-Style Chicken Thighs with Sesame Cucumber Salad and Jasmine Rice
- Hot Honey Barbecue Chicken Legs with a Charred Poblano, Corn, and Sweet Potato Salad
Now that you’re a pro at cooking chicken, try your hand at fish with this fool-proof guide from Chef Claudia to all things seafood.


